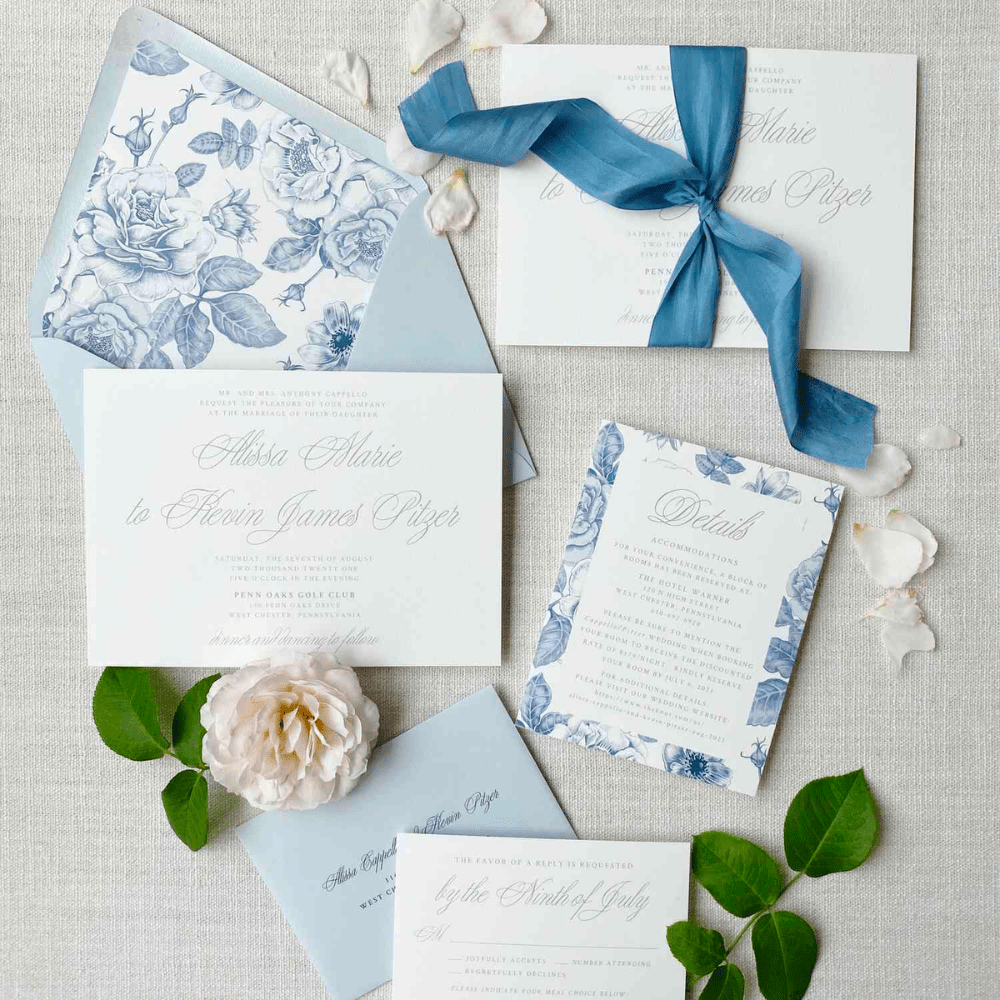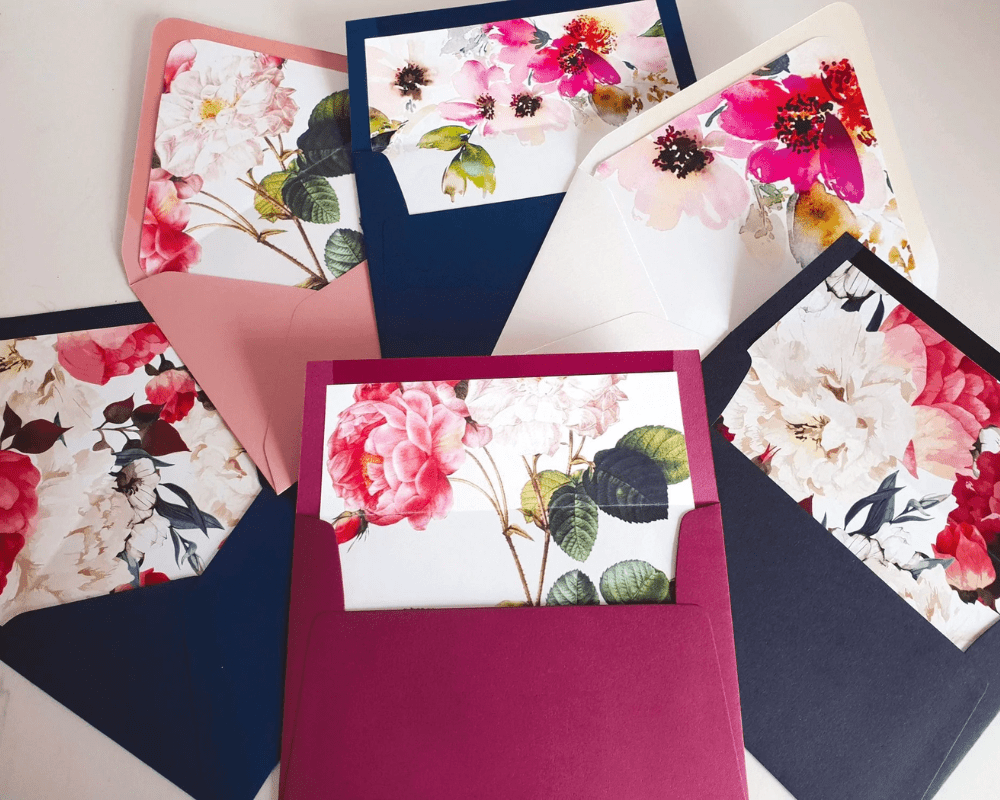
Wedding invitations are more than just an invitation to a wedding, they’re also a way of branding, marketing, and sharing your personal story with your family and friends. You want everything from the invite to the envelope liners to be just right and not only look great but feel great too. So, if you’re planning to use DIY envelope liners for wedding invitations, here are the steps on how to do it.
A Vision Board
According to creative designer Rebecca Green, start your DIY journey by creating a vision board. Explore all the social media platforms like Instagram, Pinterest, and Tumblr and pick out your favorite ideas from there, then arrange them on a board. Go through those pictures and see what connects with you the most.
Choose Your Background
Once you have an idea of the style, it is time to work on the design. Pick a color for the background; it could be white, a pastel color, or any other color that will blend well with the design. Green advises you to decide if you want to go for a pattern or a portrait; you can easily access thousands of designs and artwork for a minimal cost online. Make use of the free resources as much as you can, but do not copy anyone’s hard work.
Print Your Pattern
It’s printing time! Once you’ve decided on the pattern or portrait you want to use, make as many copies as you need. Even though they can be easily printed at home, Green suggests going to a professional printer with text-weight paper instead of that card stock.
Collect Your Materials
It is time to do some crafting. For cutting your envelope liners, you can either go for paper cutters, which you can easily find at a local store or online, or you can use sharp scissors. Apart from that, you will need some adhesive, either glue or paper tape, a pencil for tracing lines, and envelopes.
Pick the Right Template

While making the envelope liners, you can always use the basic trace-and-cut method, or you can look for other template ideas online. To ensure you do not mess up the cuts, refer to the free envelope liner templates.
Insert the Liners
It is time to put those liners into the envelopes. And to make sure everything is in place and stays intact, use a little adhesive. You can go for any nice tape liner of your choice. And that’s it; your personalized wedding liners are all ready to be shipped!